
Preparing for Your Video Shoot
First, you are going to need a story idea. For your story to work as a video, you’ll need powerful footage, so as soon as you have the idea, start thinking about the target audience and platforms the finished product will be used for, and what you can film.
What format will suit your story best – a short vertical story, a news package, a documentary? What are the essential shots and interviews you will need?
Think about audio, too. What will the audience hear as they watch your story? Will you record ‘natural sound’ of the location? Will you use music?
Watch this 2019 award-winning documentary by Italian mobile journalist Nico Piro. The story was filmed on an iPhone Xs. Notice how it uses music and natural sound to increase the impact of the story.
If you can’t physically travel yourself, how would you involve your interviewees, or members of the audience, to use their phones to record the video and audio you need? This has been a valuable lesson from the COVID-19 pandemic, when many journalists had to use their smartphones instead of going into the office to borrow equipment. They also learned to source video directly from interviewees by explaining to them what to film. Watch this interview with Spanish mobile journalist Leonor Suarez for more:
Why a Storyboard Is Important for Filming
A simple storyboard or shot-list will help you plan your shoot. Write down what you need to film – or draw pictures to create a storyboard. This will remind you to capture specific shots – including close-ups and other particular angles, before you leave.
The Journalism Education Association in the US has free, downloadable storyboards for broadcast journalists.
Scouting the Location for Your Video Shoot
For a breaking news story, you may not know much about the location before you get there. But if you have time to plan in advance, find out as much as you can about the location before you go.
Where are the best spots to place the camera, what will the lighting conditions be like, is it near a noisy road or railway line?
If you’ll be doing interviews, what would make a good backdrop? Is natural light available, or will you need to bring an external light? For more tips on location scouting, visit this Videomaker post.
Shot Types and Angles
Master the shot types and angles used in professional video journalism.
Wide, medium, and close-up Shots
Newcomers to video storytelling often shoot too many wide shots. But a variety of shots, including plenty of close-ups, will help bring your story to life. Here is a list of shot types and angles used by visual storytellers – from movie makers to tv journalists and social videographers.
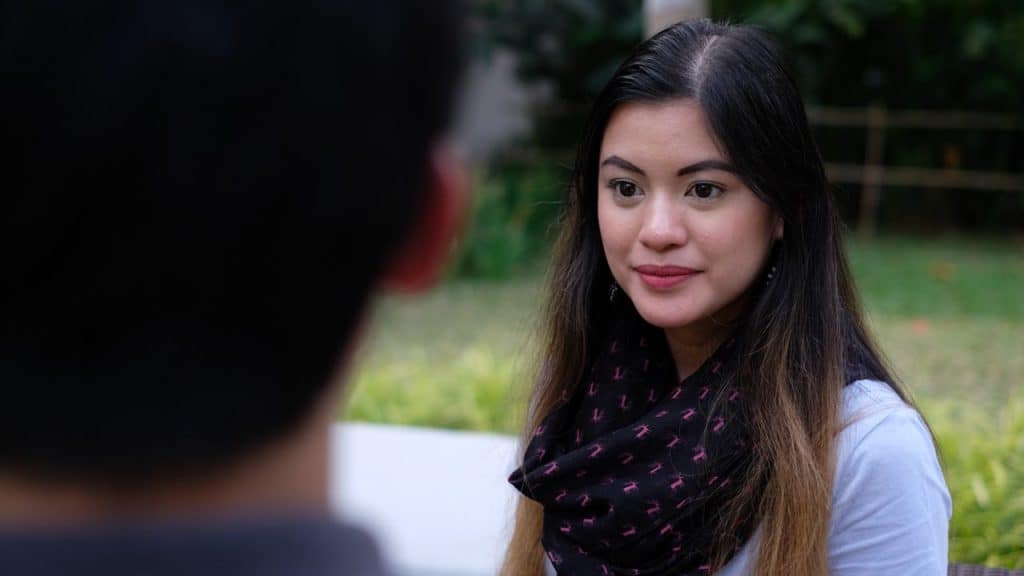
Over the Shoulder: A shot from behind a human subject to show an activity they are carrying out. The shot may also show the interviewer, and can be used to hide cuts in an interview.
Interview Shots
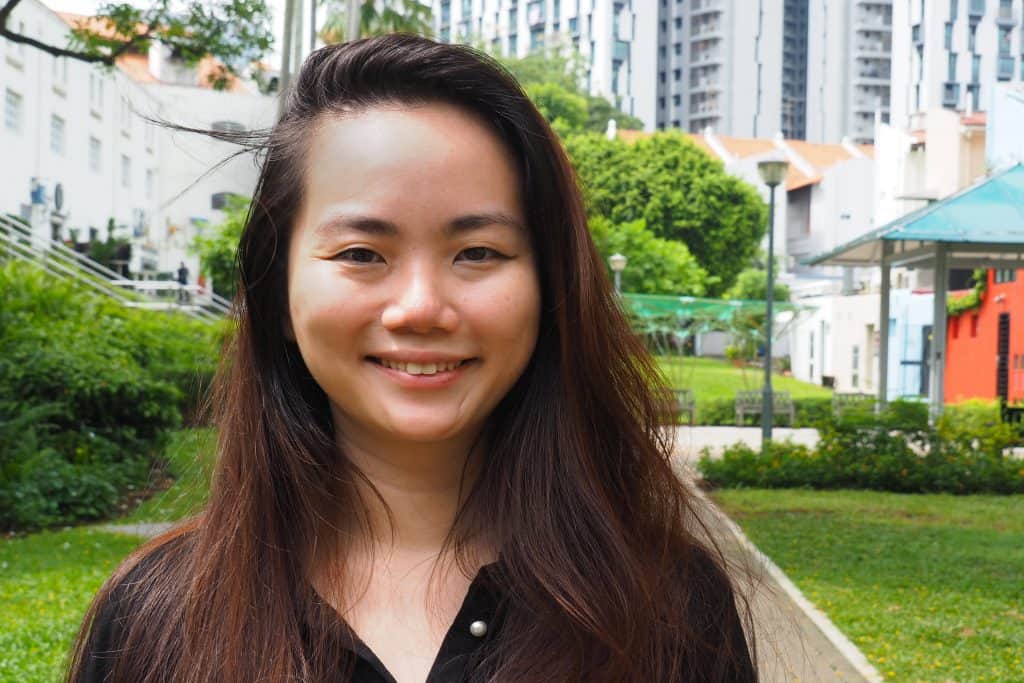
Interview shots are usually Medium or Medium Close-up shots. Make sure the camera lens is the same height as the interviewees’ eyes. If you’re filming two people, you can use these shots instead:
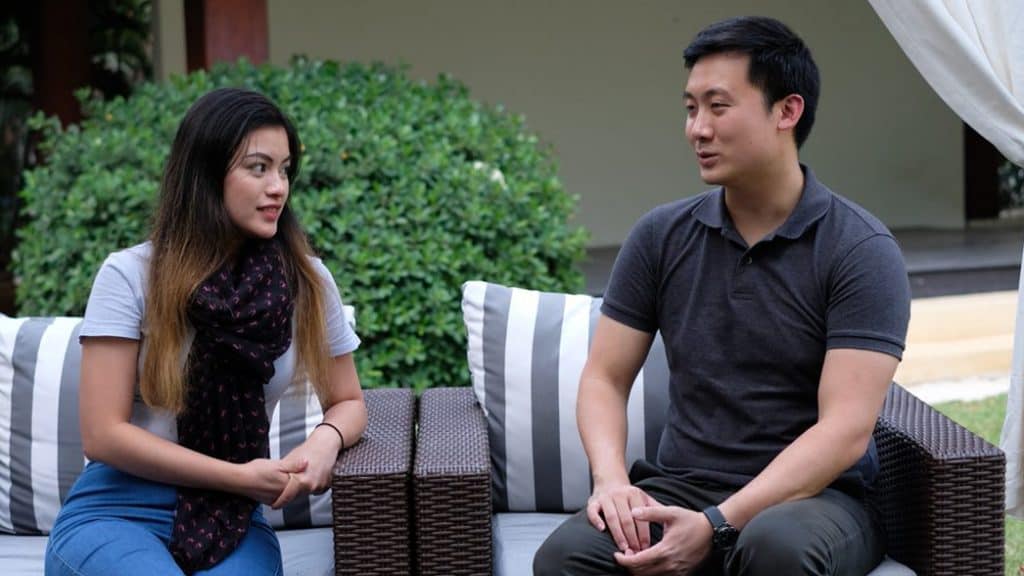
Reverse over the shoulder: A shot of the interviewee from over the shoulder of the interviewer. Can be used for variety, and also to hide cuts in the interviewer’s questions.
Narrative Footage – Cutaways and Overlay
There are two types of narrative footage:
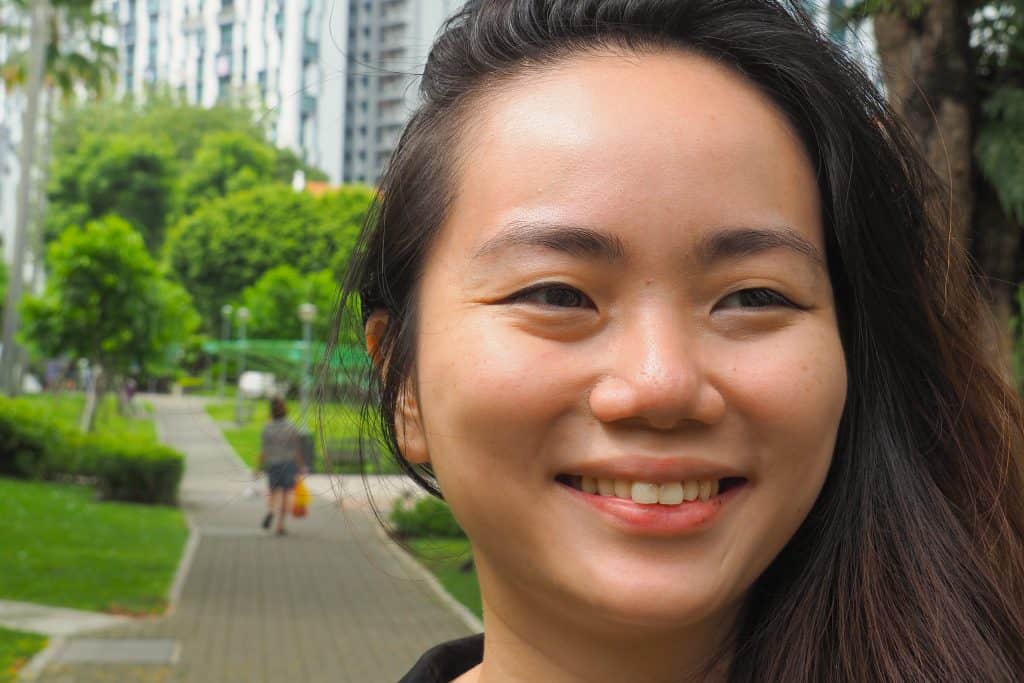
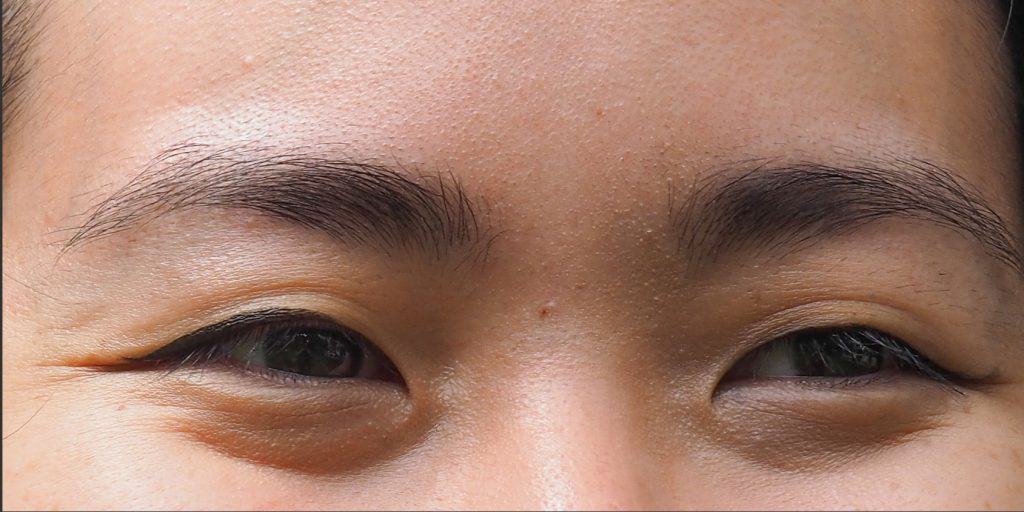
Cutaways: These are shots of an interviewee that help hide cuts in an interview, such as close-ups of the hands or eyes, and shots to provide variety or give context to points the interviewee is making, such as footage of them engaged in an activity.
Overlay: Shots of objects or activities you are describing in your script, or which your interviewee refers to in their answers. Capture plenty of these, including wides, mediums and close-ups, so that you have a good choice of angles and shots in the edit.
This video, shot by our Manual team members Manzar Elahi and Hashim Hakeem, uses cutaways and overlay with a video interview, to bring a story about umbrella manufacturers in northern Thailand to life.
How to Film in ‘Sequences’
Sequences are a well-established method of telling a story with video. Typically, you will film your subject doing an activity several times, while you film them from different angles and distances. When these shots are edited together, it looks like the activity is being done in real time from a variety of perspectives.
This guide from Poynter explains how to film a sequence, no matter what camera you’re using, and this BBC tutorial explains how to film a sequence with a DSLR camera. Remember, with a smartphone you have fewer zoom options – so you’ll need to physically get closer to your subject.
Capturing Location Audio
When you finish an interview, keep the camera running and record 60 seconds of natural sound on location. This audio will help you transition from one shot to another when you come to edit your video.
It’s also useful to film activities or objects that make noise. When editing, leave pauses in the script to let viewers hear these sounds for context and emotional connection, as Anthony Bourdain did in this excerpt from ‘Parts Unknown’ about riding motorbikes in Vietnam:
Framing and Lighting Your Shots
As the person behind the lens, you decide what’s in the frame, and what gets left out. You also need to light your shots correctly.
Framing and Composition
You are filming the video, so you need to choose what’s in the frame, and what gets left out. Before hitting ‘record’, check the frame for distracting objects like telegraph poles, street wires, or objects with text like street signs and posters.
A video should accurately convey context, too. For example, if you are filming a protest, it can be misleading to fill the frame with protestors to hide the fact that the rest of the area is normal.
Composing a shot means deciding where objects and people you are filming are ‘placed’ in the frame. If your video is only going to be seen on horizontal platforms – TV, news websites, Twitter, YouTube, and Facebook – you could place a subject to the right or left of the frame using the Rule of Thirds. Here’s a short tutorial explaining how the ‘Rule of Thirds’ is used in video storytelling:
If you need to edit a vertical version of your story for TikTok, Instagram Reels, or YouTube Shorts, you should place the subject closer to the centre of the frame, as Irish journalist Eleanor Mannion has done in this video for RTE News:
“The power of picking up an axe and feeling like a badass!”
— RTÉ News (@rtenews) December 27, 2021
Meet Ireland’s pole dancing axe thrower who has next year’s world championship in Canada in her sights.
🪓 🎯 pic.twitter.com/O6t0CHGHWW
To learn more about filming for vertical platforms, this blog post is packed with great tips. For advanced guidance, check out this cinematography guide to vertical filming, and the Hootsuite guide to filming TikToks.
How Do I Light My Video Correctly?
First, keep the strongest light source behind you so that it falls on your subject, and if you are filming indoors, make sure there are no windows or bright light sources behind your subject.
Second, filming outdoors in bright sunlight will create dark shadows, so choose a shaded locationif you can. If this isn’t an option, yuse a photography reflector or a large sheet of white cardboard to ‘bounce’ sunlight into darker areas of the shot. Here’s a short tutorial on outdoor videography:
If you’re filming in low-light situations, an external light will help. A good quality tripod mount or grip will have a cold-shoe mount where you can attach a portable light. Popular cold-shoe light brands include Lume Cube and Manfrotto.
If you regularly film in one location – for example at home or in the newsroom – a photography soft-box light is a good choice, as they are lightweight and inexpensive.
This Primal Video tutorial is an excellent beginner’s guide to using external lights:
Mobile Video Journalism Checklist:
This checklist will help you prepare to film your mobile journalism story, so that when you press ‘record’, you are completely ready. If you want to take the checklist with you to your shoots or print it out, you can download it here.
Before you Leave for the Shoot:
Practice: Make sure you feel confident using your equipment and any apps you plan to use.
Free up space: Download photos and videos to ensure you have enough phone memory.
Charge up: Fully charge your phone and pack a charger and power bank.
Pack your bag: Double check you have everything – tripod, tripod mount, microphones, headphones, charger, power bank, external light, a cloth to clean your lens, and your shot list or storyboard.
Check the weather: Bright sunlight or rain may force you to choose a different location..
Scout the location: If you can, visit the location before the day of the shoot, or ask your interviewee about the best spot for an interview, and about objects or locations you could film to help tell the story.
When you Arrive:
Avoid external noise: Switch off electrical appliances that cause a hum or hiss, like fans, air-conditioners and refrigerators.
Avoid incoming calls: Switch your phone to airplane mode, and ask your interviewee to do the same.
Select the interview backdrop: Where will your interviewee sit? What is behind them? Make sure it adds context to the story and that there are no distracting objects in the background.
Before Hitting ‘Record’:
Where is the light? Make sure the primary light source is behind you, and landing on your interviewee’s face.
Set up your equipment: Attach the phone to a tripod with a tripod mount. Make sure the lens is at the top of the phone. If you don’t have a tripod, stabilise the phone on a solid surface like a wall or fence, or lean your body against a solid surface.
Check eyeline: Make sure the camera lens is at the same height as your interviewee’s eyes.
Connect a microphone: Attach your microphone to your interviewee’s clothing, and connect it to your phone,
Clean the lens: Use a soft cloth to to remove dust or fingerprints from the camera lens.
Do a test recording: Ask your interviewee a simple question, like what they had for breakfast, or where they went on their last holiday. Review the recording with headphones to ensure the video recorded properly and that the audio sounds good.
Before Leaving the Location:
Record natural sound: Record 60 seconds of the room or location without any speech, so you have spare location audio for using in the edit.
Check your shot-list: Do you have all the footage you need?
Check your bag: Have you packed everything that you brought?